Source: Unsplash | Sven Brandsma
Even after living in the same place for years, you can still create the feeling of transformation and renewal in your own home. Not everyone can afford to spend loads of money on redecorating their house with the help of professional interior designers and expensive, high-end furniture.
That doesn’t mean however that only a select few people can enjoy the process of transforming their living space. With a clear vision, a distinct style, and plenty of patience, anyone can turn their home into their own personal paradise. Here are a few simple yet hugely effective home improvement ideas to inspire you.
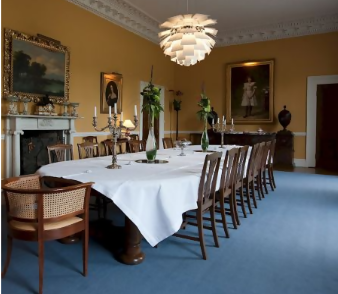
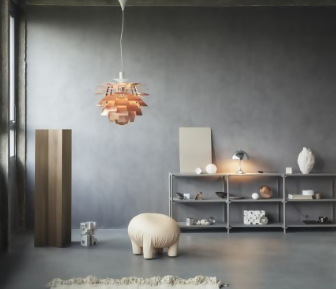
Walls
Everything about the walls in your home will add to the overall feeling that each room evokes. Texture, color and layout all play a huge part in how you interact with your surroundings, even on a deeply subconscious level. This is why it’s so important to choose the appearance of your walls carefully. If you want to feel cozy and safe, opt for warm tones and more pronounced textures such as exposed red brick or patterned wallpaper. For a bright, fresher and more energizing feel, choose light colors and smooth textures.
Fewer walls throughout the floor plan of your home will create a more open and easy flow, whereas having many rooms will add to the sensation of mystery and coziness. Make sure that if you want to combine two or more rooms that you consult a professional who can advise whether or not the walls are load-bearing.
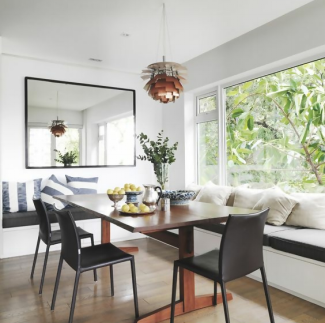
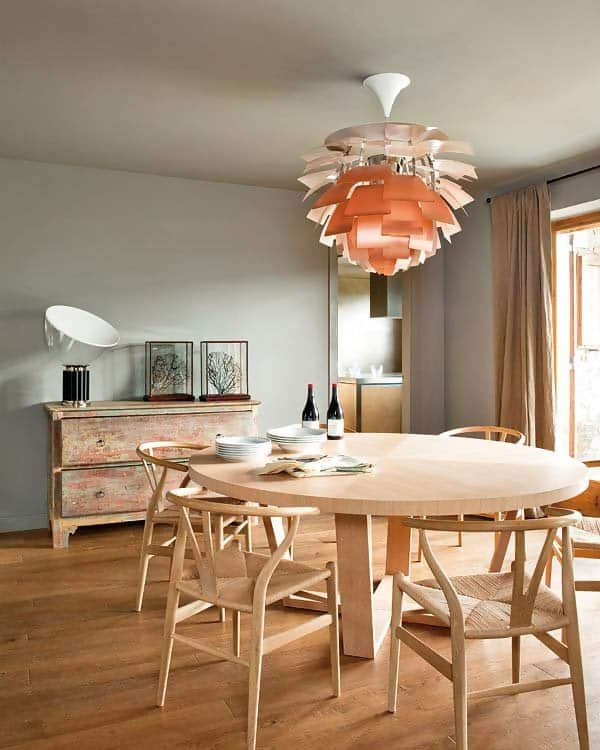
Floors
Similar to the subconscious effect that different looking walls can have on your overall mood and impression of a room, your choice of flooring will also impact you and your home in subtle yet significant ways. Soft, thick carpet turns your home into a designated relaxation zone, while bare wooden boards create a more rustic, practical effect.
Even the difference between small and large tiles can change the way you perceive a room and its purpose, so take care before deciding what to put on your floors.
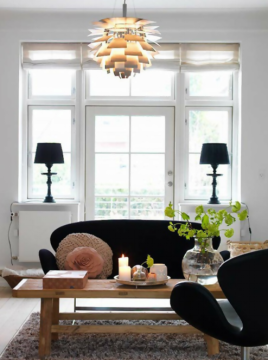
Windows
Only once you’ve experienced the oppressive mood that comes with sitting in a windowless room, do you appreciate how valuable good windows are for any home. The right windows can make a room brighter, happier and improve the overall insulation of the house. It might seem overly simplistic, but just by conducting a search for “window companies near me”, you will be able to turn your home into a fresher, more invigorating space.
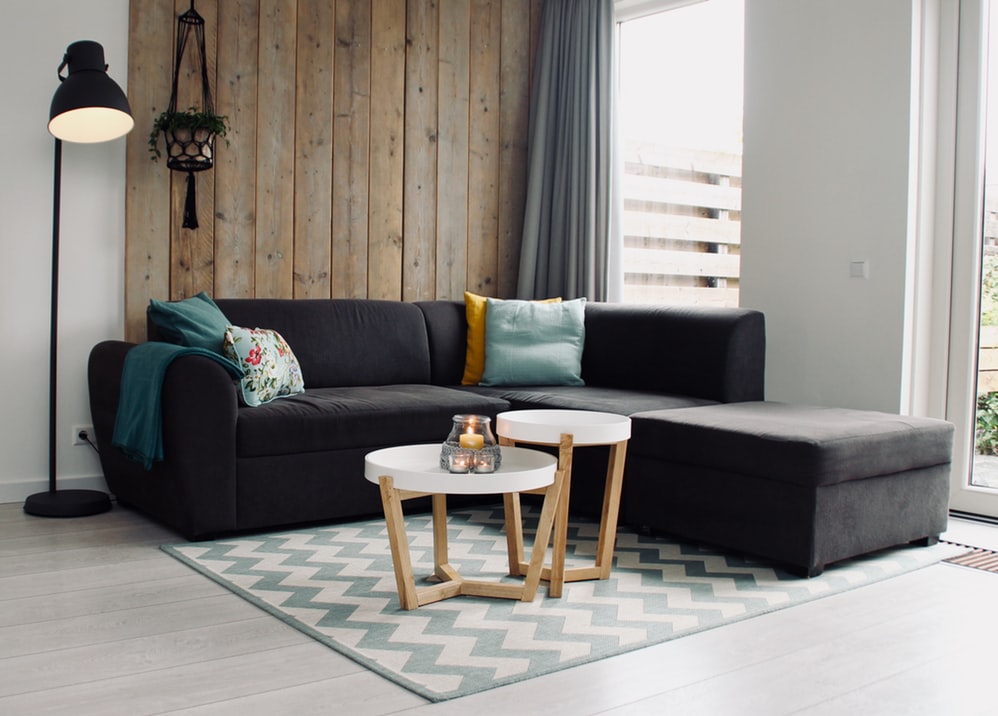
Furniture
One of the most fun parts of improving your home is the opportunity to treat yourself to new furniture. Small pieces such as end tables and mirrors can make just as much of a difference as larger items, such as sofas and bookshelves. Take this as an opportunity to explore new styles and push your imagination. You can take inspiration from interior designers or design your home around your own unique tastes.
Clutter
A comfortable, lived-in home is bound to have its fair share of clutter. Toys, books and other miscellany aren’t inherently bad, but when it distracts from the purpose and enjoyment of your home, it’s then time to have a clear out. There are many tidying gurus out there with varying techniques on how to declutter your home. Here are a few suggestions to help get you started:
- Focus on one room at a time so as not to become overwhelmed
- Donate clothes and items that no longer serve a purpose to you
- Allocate a cupboard or drawer in your home for unwanted objects and allow guests to choose and keep anything from this area
- For every new object you purchase, get rid of an old, unwanted one (give to charity)
Nature
Invite the outside in, and welcome nature back into your home with potted plants and flowers. If you feel like taking on an exciting project, try creating your own moss wall or indoor vegetable garden.
Spending more time with nature is proven to improve mental health and, if brought inside, also serves to clean the air in your home. Make sure any greenery you purchase is safe as children and pets can sometimes become sick if they ingest certain plants.
Life
Home improvement doesn’t mean changing your home into something sterile and overly designed. A beautiful home is one that invites you to enjoy it and get comfortable in it. While it’s good to declutter every now and then, don’t remove the life and vibrancy from your home.